How to turn document photos into a cleaner PDF
Upload document pictures or use the camera where supported. Start with an evenly lit photo in which all four paper corners are visible. Prepare the result as a PDF or an image ZIP, depending on the output you need.
 View full size
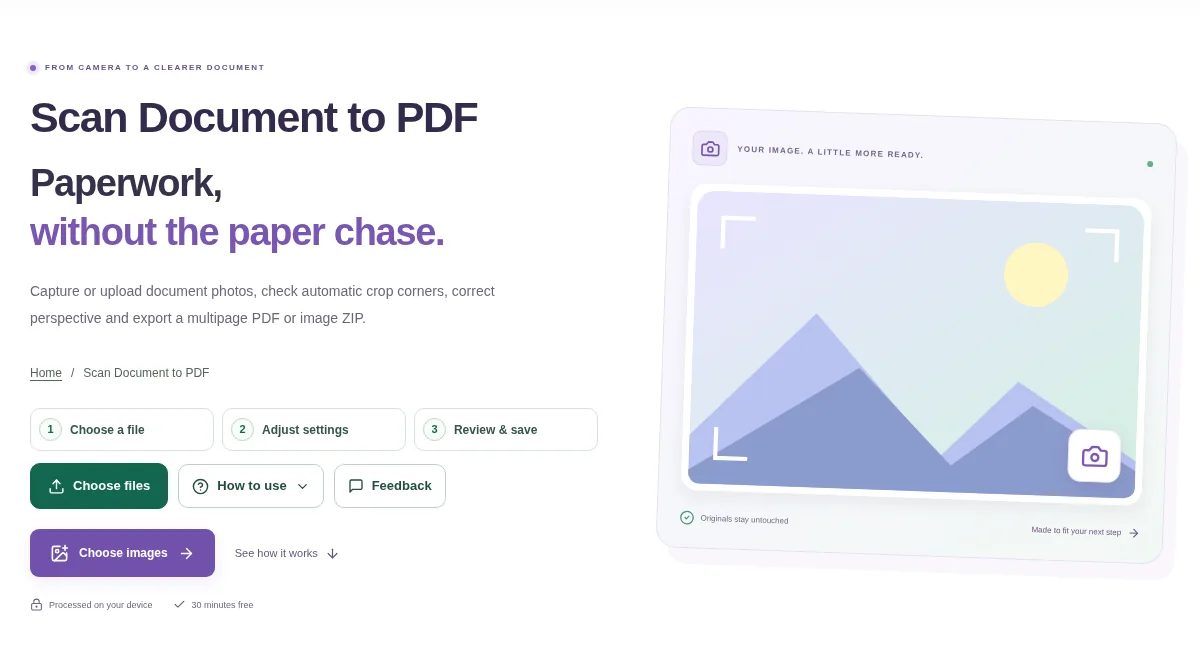
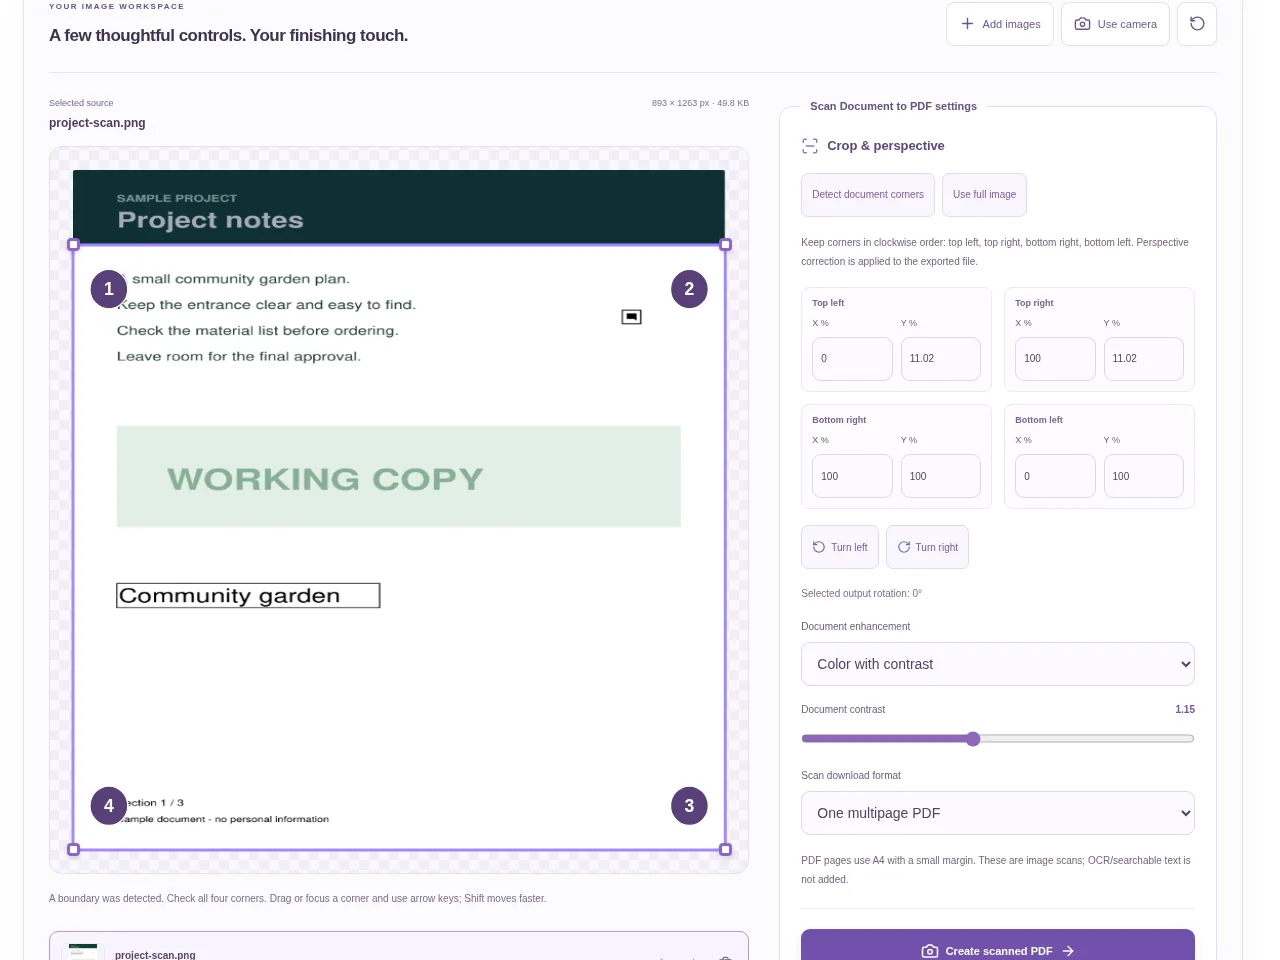
A phone photo of a paper can include a desk edge, a shadow or a slight perspective tilt. Scan Document to PDF lets you set the document corners and choose cleanup settings before making a new PDF.
1. Open your file
Upload document pictures or use the camera where supported. Start with an evenly lit photo in which all four paper corners are visible.
2. Work through the settings
- Select a page and place the four corner handles on the paper edges. Review automatic detection instead of accepting it blindly.
- Choose document enhancement and a suitable color setting. Keep enough detail for pale stamps and handwriting.
- Arrange the pages in reading order and correct rotation where needed.
- Prepare the result as a PDF or an image ZIP, depending on the output you need.
 View full size
3. Check before you share
- Check the document edges and the last line on the page.
- Look for washed-out pencil marks or dark shadows left in the result.
- Confirm the page order in the downloaded document.
File limits and first-use notes
350 MB combined input. 12 images. No fixed pixel / MP upload cap. 350 MB output. Device memory and codec limits apply.
Questions you may have
Can the tool correct a photo taken at an angle?
Corner correction can improve a tilted document photo when the paper edges are clear. Review the preview for stretching or a misplaced corner.
Will the PDF contain selectable words?
Not from this image cleanup step alone. Use OCR PDF if you need recognized searchable text.