How to resize a picture to the dimensions you need
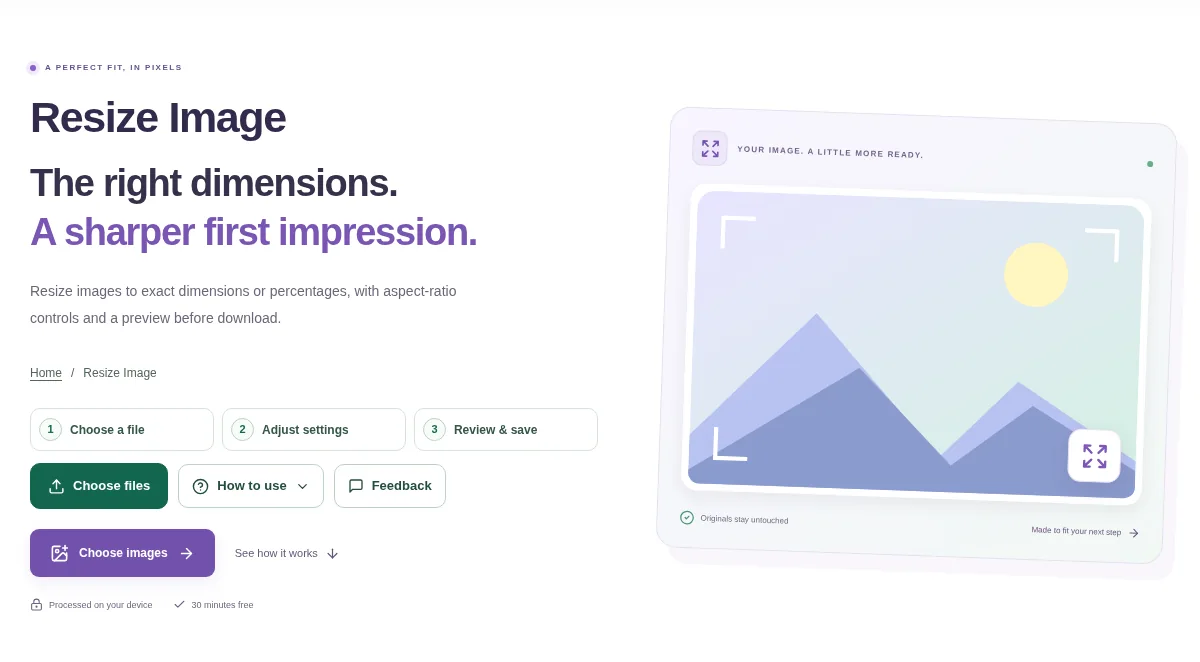
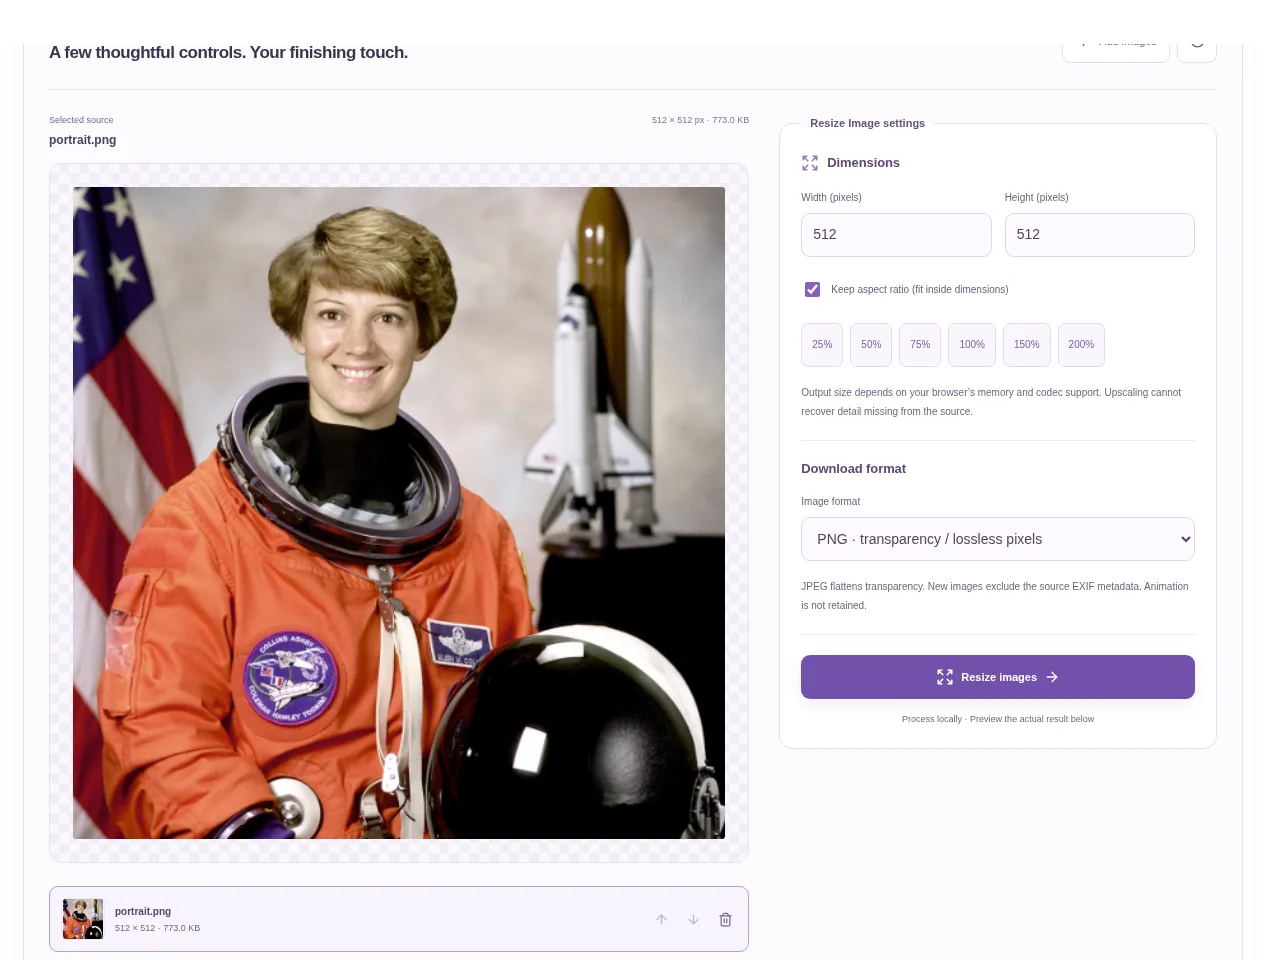
Choose your images in Resize Image. Read the original dimensions in the preview before changing the width or height. Compare the actual output dimensions before downloading the files or ZIP.
 View full size
An image can have the right file size and still be too wide for an upload form. Resize Image changes its pixel dimensions. Start with the width and height the receiving page asks for, rather than a guess based on how large the picture looks on screen.
1. Open your file
Choose your images in Resize Image. Read the original dimensions in the preview before changing the width or height.
2. Work through the settings
- Enter the output dimensions you need. Keep the proportions linked when you want the picture to retain its natural shape.
- Check the fit choice if the requested box has a different shape from the original. A crop and a stretch have different effects.
- Choose a suitable output format, then process the images.
- Compare the actual output dimensions before downloading the files or ZIP.
 View full size
3. Check before you share
- Look at faces, circles and lettering for unwanted stretching.
- Check that an important edge was not cut off.
- Verify both pixel dimensions and byte size if an upload form checks both.
File limits and first-use notes
350 MB combined input. 12 images. No fixed pixel / MP upload cap. 350 MB output. Device memory and codec limits apply.
Questions you may have
Does resizing guarantee a particular KB size?
No. Pixel dimensions and encoded file size are separate. Use Resize and Reduce Image when you need to work toward both requirements.
Can I resize several photos together?
The workspace supports a batch within its file-count and combined-size limits. Review pictures with different proportions before using one shared setting.