How to change image dimensions and reduce its file size
Add the image and read the receiving form’s requirements. Note the allowed file type too; dimensions and byte size are not the only possible checks. Read the actual result size and dimensions. If it does not meet the requirement, revise the settings rather than judging the preview alone.
 View full size
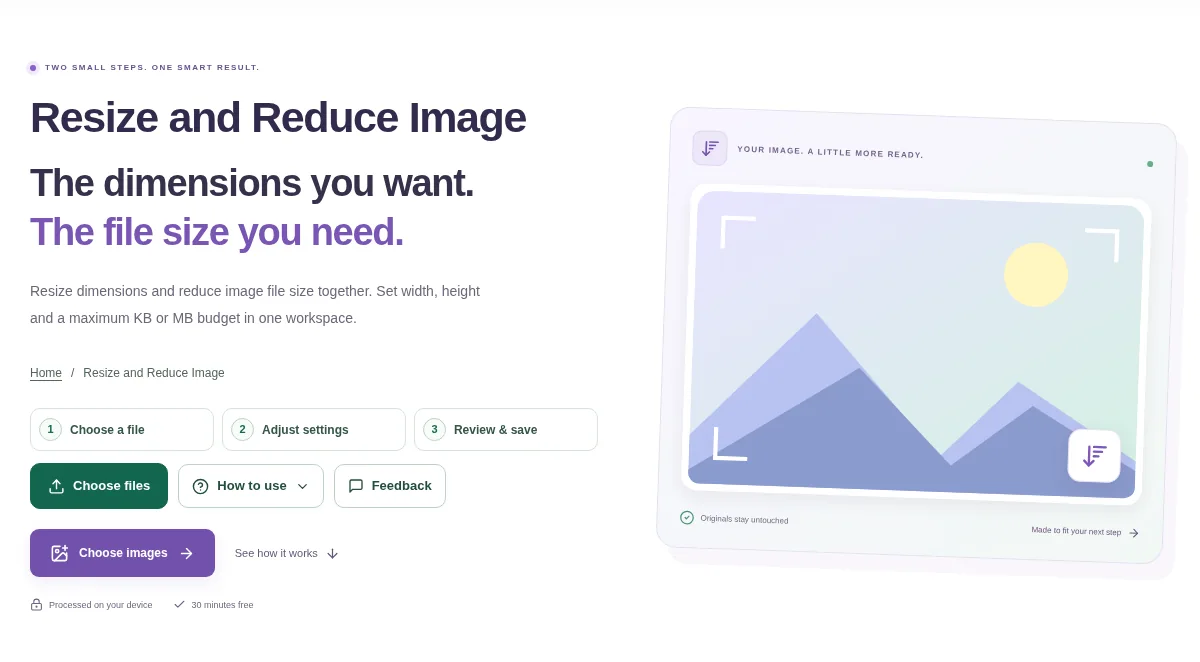
Some upload forms set two rules: a maximum width or height and a maximum number of KB. Resize and Reduce Image brings those settings together, so you can prepare a picture for both checks.
1. Open your file
Add the image and read the receiving form’s requirements. Note the allowed file type too; dimensions and byte size are not the only possible checks.
2. Work through the settings
- Set the width and height, keeping the proportions where appropriate.
- Enter the maximum file size or choose a size preset that matches the requirement.
- Choose an accepted output format and process the image.
- Read the actual result size and dimensions. If it does not meet the requirement, revise the settings rather than judging the preview alone.
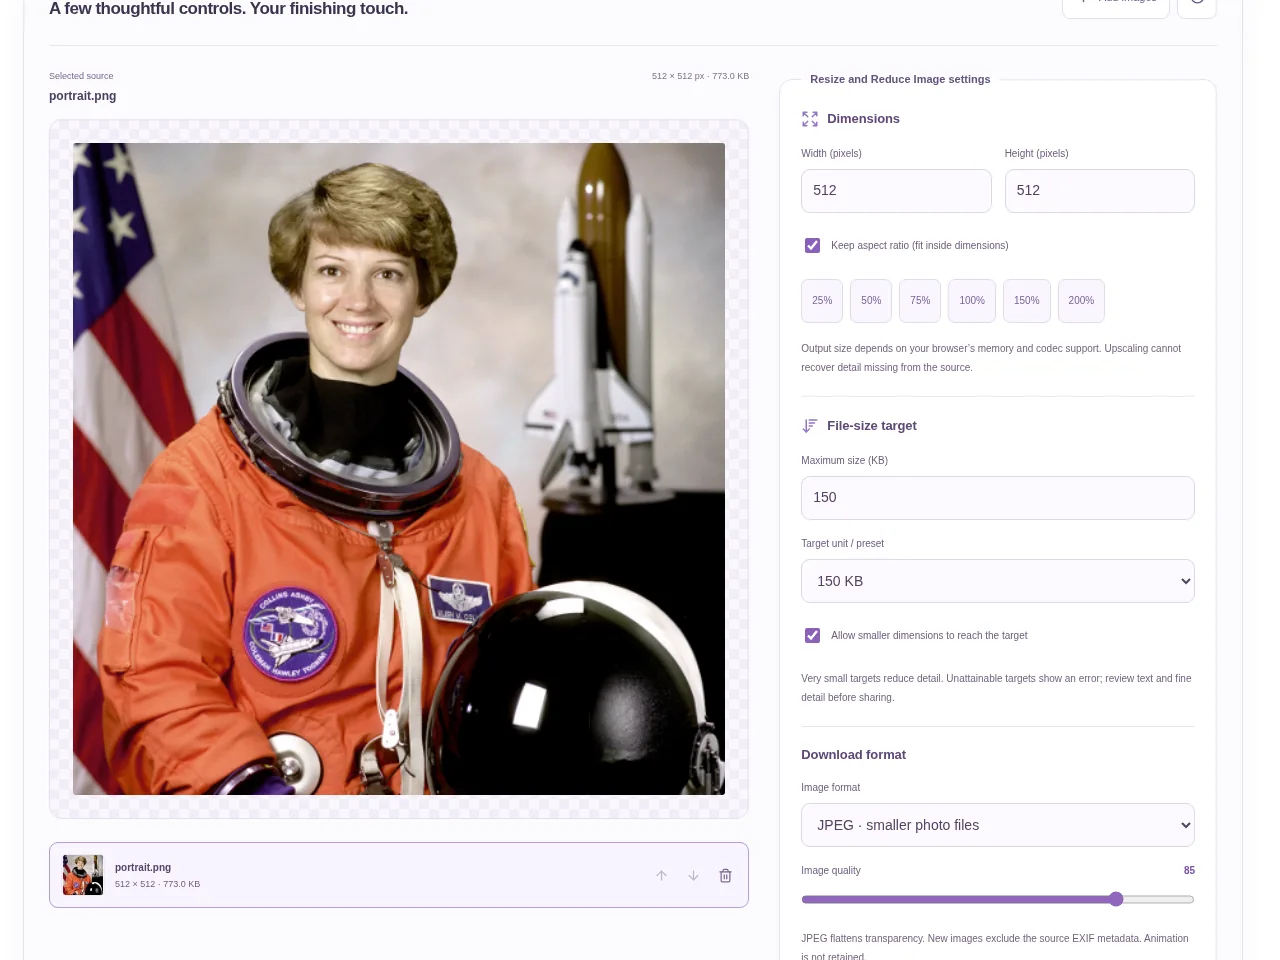 View full size
3. Check before you share
- Inspect small writing and faces after reduction.
- Compare the saved dimensions with the form’s rules.
- Check the actual byte size of the download.
File limits and first-use notes
350 MB combined input. 12 images. No fixed pixel / MP upload cap. 350 MB output. Device memory and codec limits apply.
Questions you may have
Why is the image still rejected after its KB size fits?
The form may also check dimensions, aspect ratio, file format or its own content rules. Compare all the published requirements.
Should I reduce dimensions or quality first?
Start with the required dimensions. Then adjust file-size settings and inspect the result so you do not discard more detail than the task needs.