How to prepare a passport-style photo and print sheet
Choose one clear portrait with the whole head visible. Check the authority’s requirements for size, background, expression and editing before you start. Choose the number of print copies, create the photo and inspect the image and print sheet.
 View full size
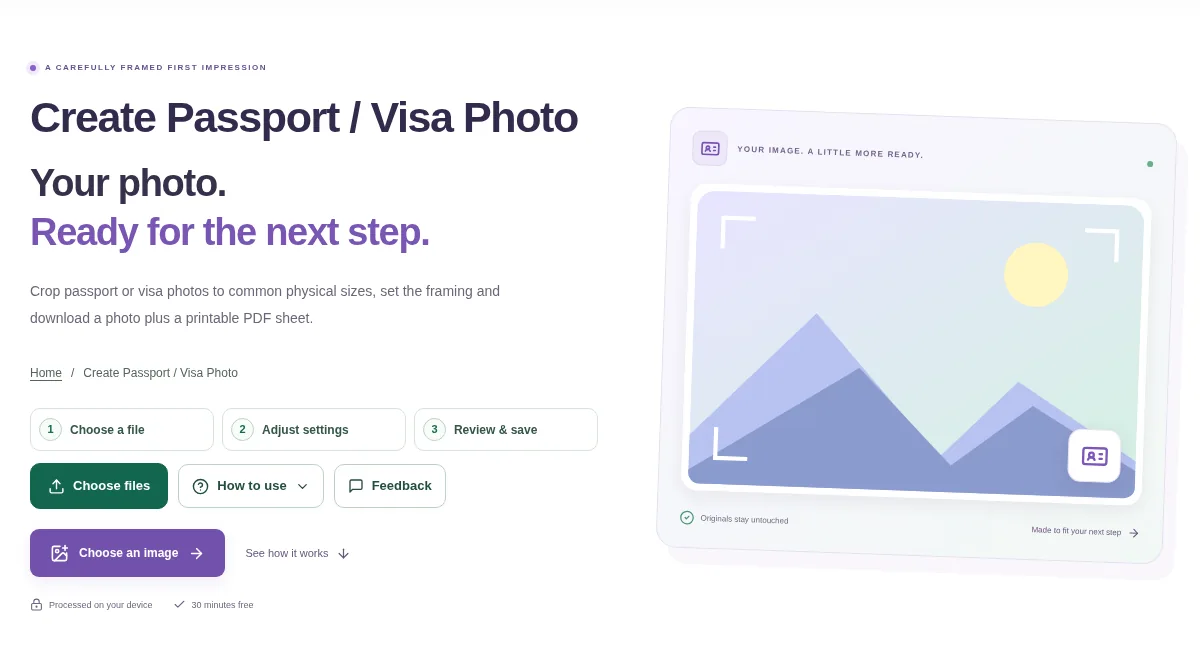
Passport and visa photos have specific size and framing rules. This tool helps you prepare the dimensions and a print sheet, but the issuing authority decides whether a photo meets its current requirements.
1. Open your file
Choose one clear portrait with the whole head visible. Check the authority’s requirements for size, background, expression and editing before you start.
2. Work through the settings
- Choose the matching preset or enter custom millimetre dimensions. Do not assume a common preset suits every application.
- Set the pixel resolution for the required physical size.
- Adjust photo zoom and horizontal/vertical framing so the head fits naturally. Use background replacement only if it is permitted and check the edges.
- Choose the number of print copies, create the photo and inspect the image and print sheet.
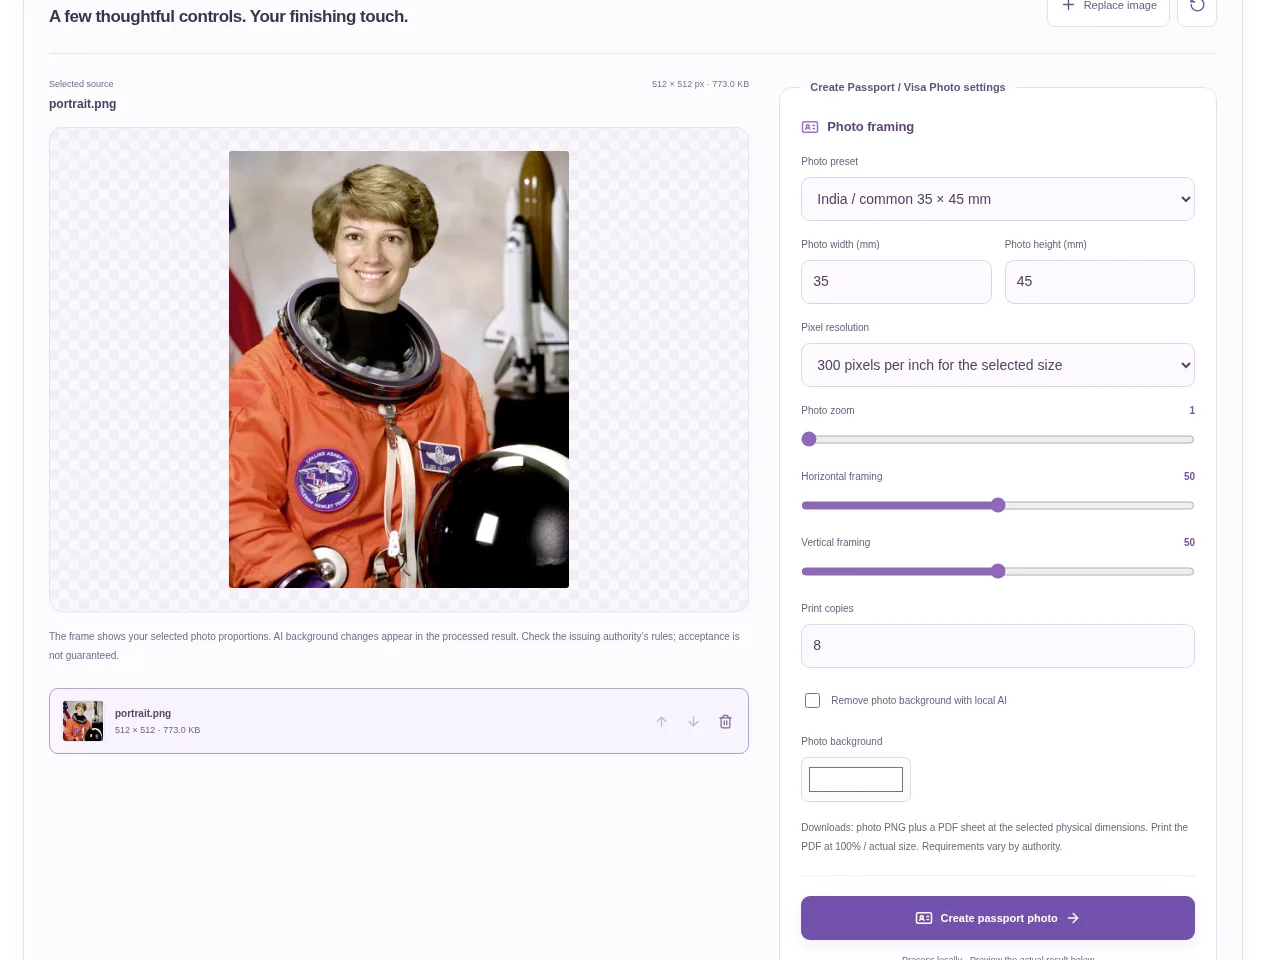 View full size
3. Check before you share
- Compare the crop and dimensions with the official rules.
- Check head position, expression, lighting and the background.
- Print at the intended physical size rather than allowing an app to scale the sheet automatically.
File limits and first-use notes
350 MB combined input. 1 image. No fixed pixel / MP upload cap. 350 MB output. Device memory and codec limits apply.
Questions you may have
Does the tool certify a photo for a passport application?
No. It prepares a format and framing. You must check the current rules of the issuing authority.
Why does the same photo have different pixel sizes at different resolutions?
The selected physical width and height are converted into pixels using the chosen pixels-per-inch setting.