How to enlarge a photo and check the real output size
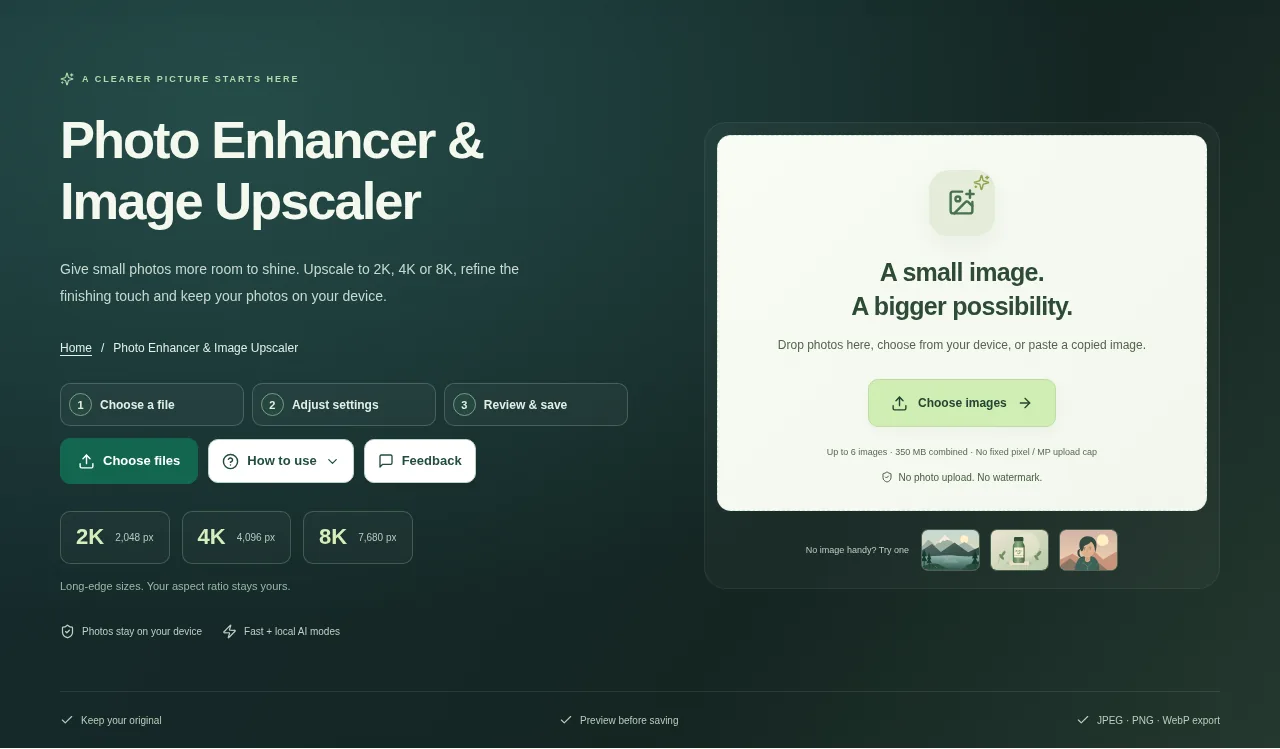
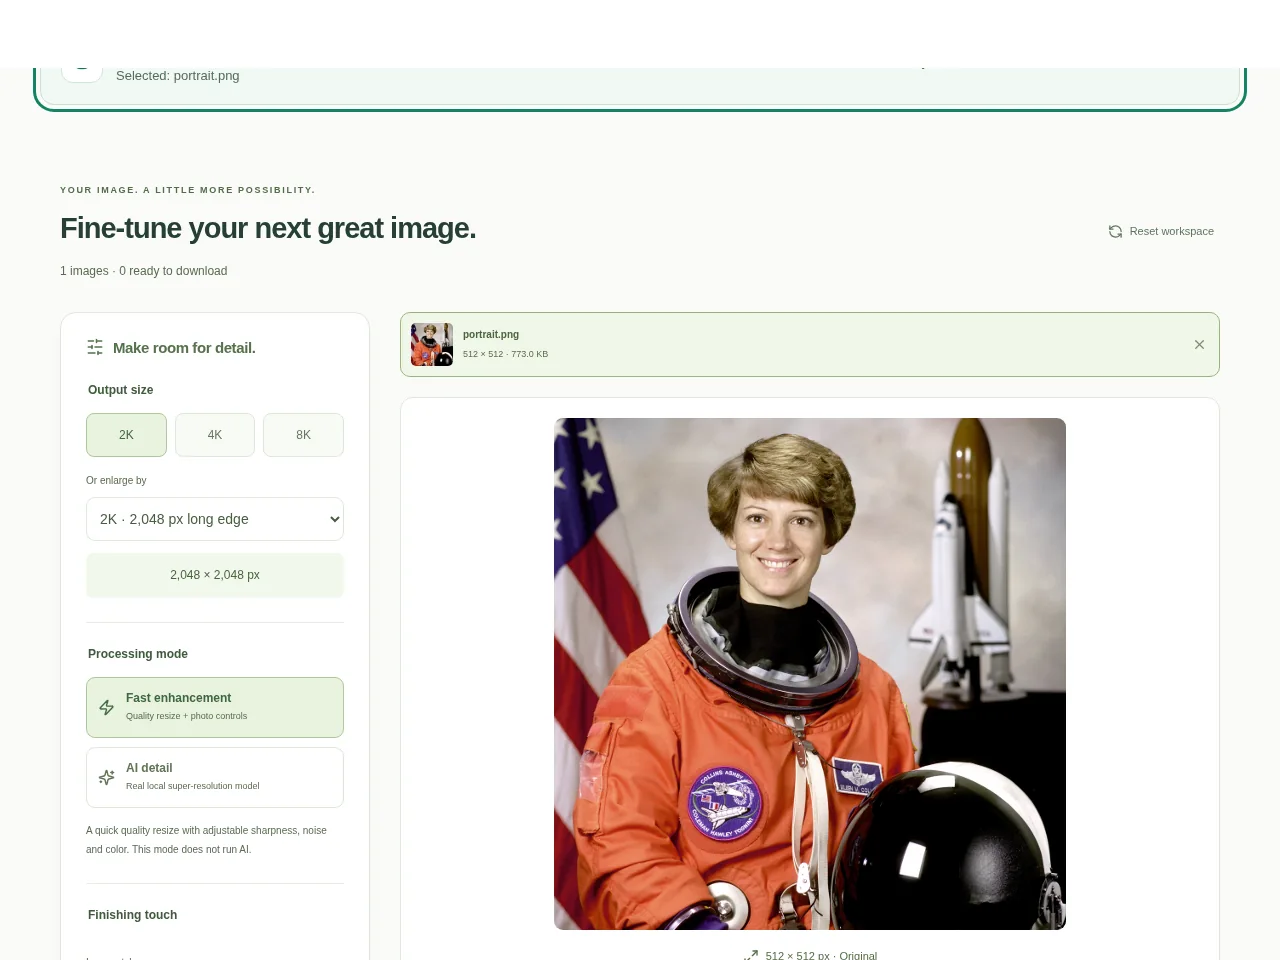
Choose a photo, set a size preset or enlargement factor and select Fast enhancement or AI detail. Adjust the finish, enhance the image and check its actual output dimensions before downloading.
 View full size
A small picture can look soft when used in a larger design. Photo Enhancer & Image Upscaler lets you choose a larger output and adjust the finish. It separates fast resizing from a local AI-detail mode so you can choose the trade-off.
1. Open your file
Add a photo and look at its original dimensions. Decide whether the job needs a fixed long-edge preset or a multiple of the original size.
2. Work through the settings
- Choose 2K, 4K or 8K, or select 2×, 4× or 8× enlargement. Read the output dimensions shown by the tool.
- Start with Fast enhancement for ordinary resizing and photo controls. Choose AI detail when you want local neural processing and can allow more time.
- Adjust deep clean, sharpness, noise reduction, brightness, contrast and saturation gently.
- Enhance the image, compare before and after, then choose JPG, PNG or WebP for download.
 View full size
3. Check before you share
- Read the actual pixel dimensions in the result.
- Zoom into eyes, lettering and fine edges for over-sharpening or invented texture.
- Check the file size and transparency before saving the final copy.
File limits and first-use notes
350 MB combined input. 6 images. No fixed pixel / MP upload cap. 64 MP / 8,192 px output. Large AI jobs may take minutes; device memory limits apply.
Questions you may have
Are 4K and 4× the same thing?
No. A 4K preset uses a fixed long-edge target. 4× multiplies the original dimensions, subject to the output limits.
Why does a face or small word look different after AI processing?
The model estimates detail from its training. Compare the result and reduce the effect or use Fast mode if faithful appearance matters more.