How to blur a photo background while keeping the subject clear
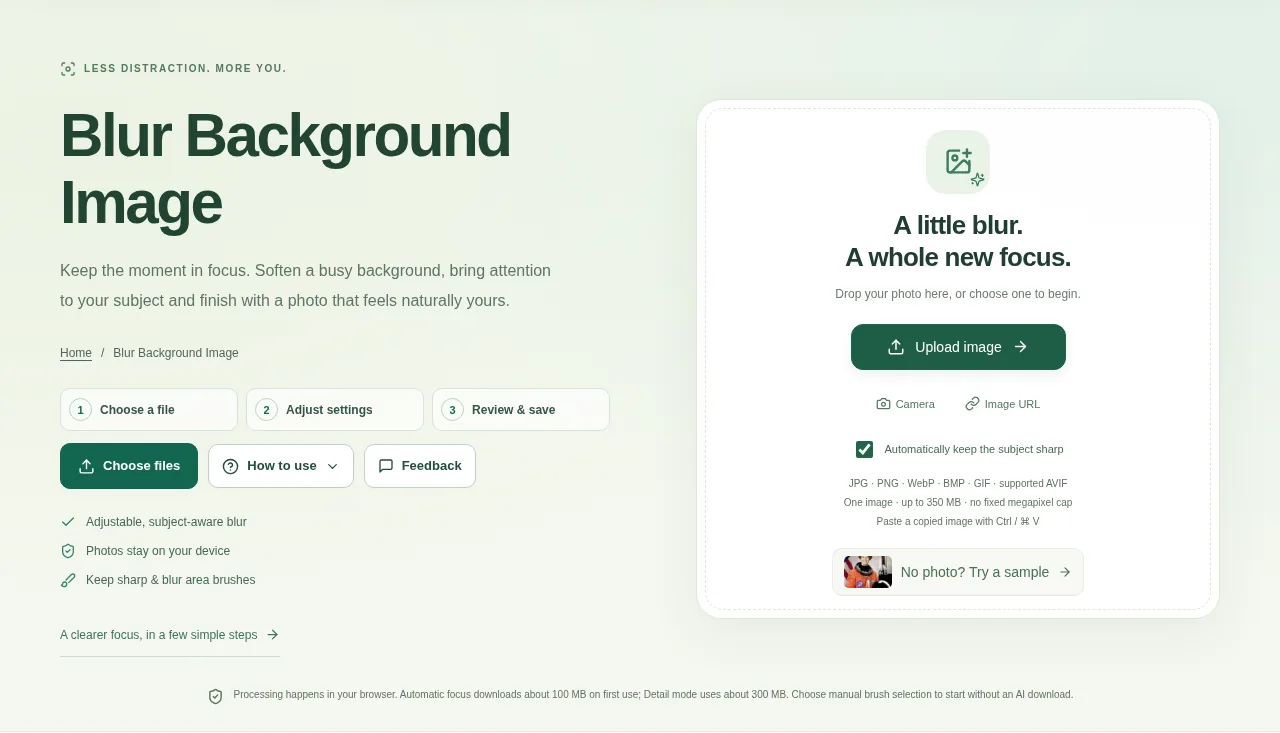
Choose one photo. Leave automatic subject selection on for a first estimate, or turn it off to make a manual selection without an AI-model download. Compare the result, choose PNG, JPG or WebP and prepare the finished image.
 View full size
A softer background can draw attention to a person or product. Blur Background Image separates the sharp area from the area to soften, then gives you brushes to correct the selection.
1. Open your file
Choose one photo. Leave automatic subject selection on for a first estimate, or turn it off to make a manual selection without an AI-model download.
2. Work through the settings
- Review the subject selection before increasing the blur. Hair, gaps and similar-colored clothing may need attention.
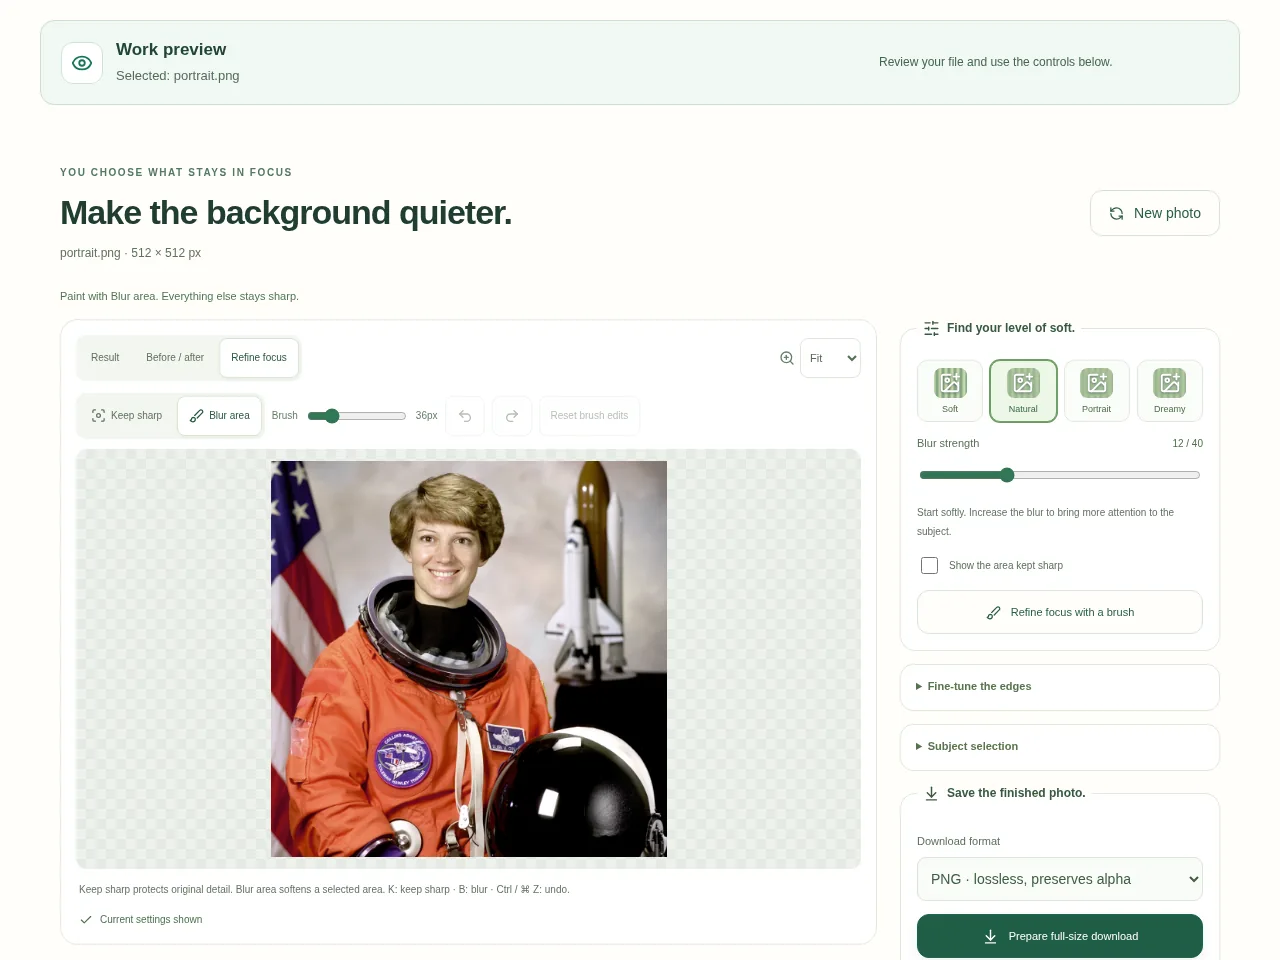
- Choose a blur preset and adjust the strength.
- Use Keep sharp for details that should stay clear and Blur area for background the mask missed. Undo an inaccurate stroke.
- Compare the result, choose PNG, JPG or WebP and prepare the finished image.
 View full size
3. Check before you share
- Look around hair, hands and clothing edges.
- Check that a second person or important object was not treated as background.
- Review the whole image at normal size as well as a close zoom.
File limits and first-use notes
One image at a time, up to 350 MB input or output, with no fixed megapixel cap. Browser memory limits apply. First automatic use downloads about 100 MB, or 300 MB for Detail mode. Manual selection avoids AI downloads. Complex edges may need correction.
Questions you may have
Will the output keep the original image dimensions?
The workflow exports at the original dimensions, within file and device limits. Check the result information before downloading.
Can I blur the background without automatic AI selection?
Yes. Turn automatic selection off and use the focus brushes to define the area yourself.