How to remove a photo background and fix missing parts
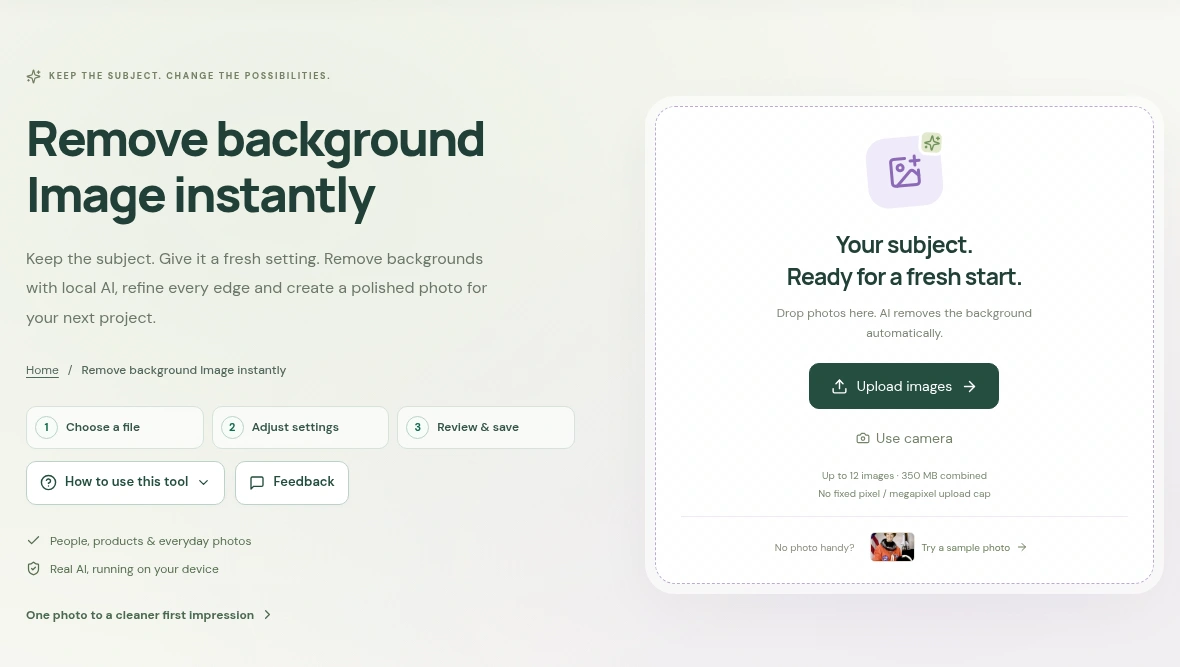
Choose a photo in Background Remover, compare the cutout with the original and use Restore from original if part of the subject is missing. Save as PNG to keep the background transparent.
 View full size
Removing a background should leave the person or object you want to keep. If part of a sleeve, hand or product disappears too, check the cutout before downloading it. Tooldu has comparison and brush tools to help you do that.
1. Choose the photo you want to edit
Open Background Remover and press Upload images. You can also press Try a sample photo to learn the controls first. The tool starts removing the background after the photo is added.
The default Detail preservation mode uses two AI checks. Its first download is about 300 MB and may take a few minutes. Lighter processing uses about 100 MB and can be easier on a phone. Keep the page open while it works. The examples here use Lighter processing.
2. Compare the cutout with your original
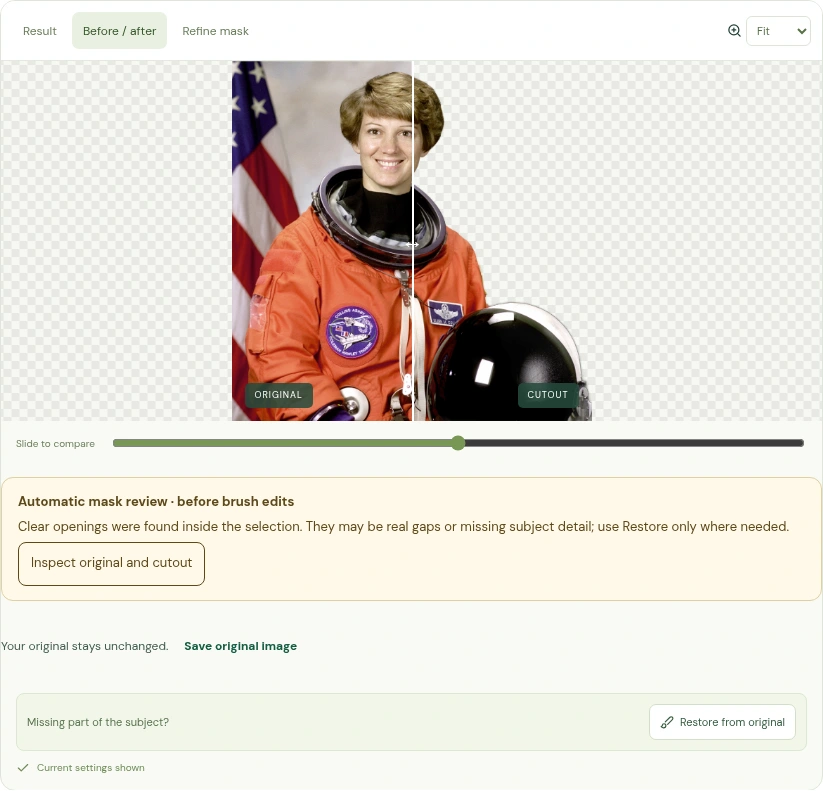
Choose Before / after above the preview and move the slider. Look at hair, fingers, clothing and anything the person is holding. For a photo with two people, check both of them.
 View full size
Check inside the subject as well as around the outside. A hole in clothing can be easy to miss. The checkerboard marks transparent areas; it is not a new background.
3. Bring back any missing parts
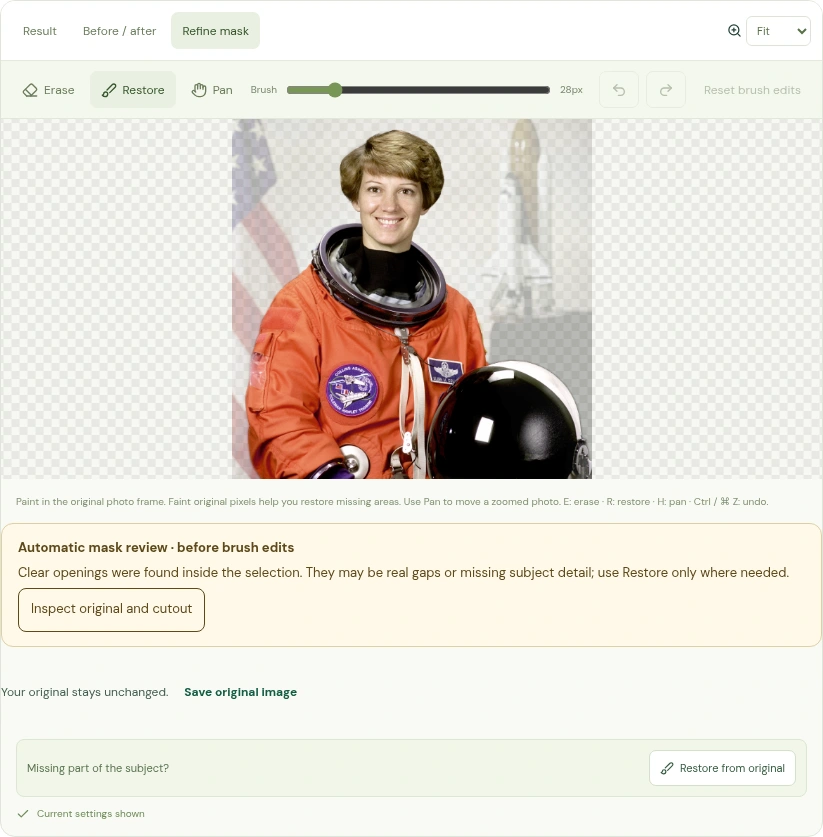
Press Restore from original. This opens Refine mask with the Restore brush selected. Make the brush small for a narrow edge, zoom in if needed and paint only over the part you want to bring back.
 View full size
If you bring back too much, use Undo. Use Erase for bits of background that remain. Return to Result to check the finished view. The Protect clothing & object interiors option can help with some gaps, but always inspect the result yourself.
4. Save a transparent copy
Choose Transparent under Background style and PNG · keeps transparency under Image format. Press Prepare full-size download, then use the download link that appears. Keep the original photo too.
JPEG cannot keep transparency. Also, some photo viewers show a transparent area as black or white. If that happens, check the PNG in an editor that shows a checkerboard before assuming the background has returned.
If the cutout still needs work
Busy scenes, blur, glass and similar foreground and background colours can confuse the automatic selection. Try the other processing mode or correct the mask from the original. No automatic tool gets every photo right, so review important images before sharing them.
Photos are processed on your device. Background Remover follows the site’s trial and access-pass rules; see Pricing for the current terms.
Questions you may have
What should I do if part of a person disappears?
Press Restore from original, then paint over the missing part with the Restore brush. Use a small brush near edges and Undo if you bring back too much.
Why can I still see a faint background in Refine mask?
The editor shows a faint copy of your original to help you restore missing parts. Switch to Result to inspect the cutout itself.
Which format keeps the background transparent?
Choose a transparent background and save as PNG. JPEG fills transparent areas instead of keeping them clear.